> For the complete documentation index, see [llms.txt](https://docs.kiln.fi/v1/llms.txt). Markdown versions of documentation pages are available by appending `.md` to page URLs; this page is available as [Markdown](https://docs.kiln.fi/v1/kiln-products/connect/sdk/getting-started.md).
# Getting started
## 1. Install the SDK
The Kiln Connect SDK is only available in TS/JS for now, if you have other programming language requirements, please contact the [support](/v1/working-with-kiln/support.md).
{% tabs %}
{% tab title="JavaScript" %}
```shell
# using bun
bun install @kilnfi/sdk
```
{% endtab %}
{% endtabs %}
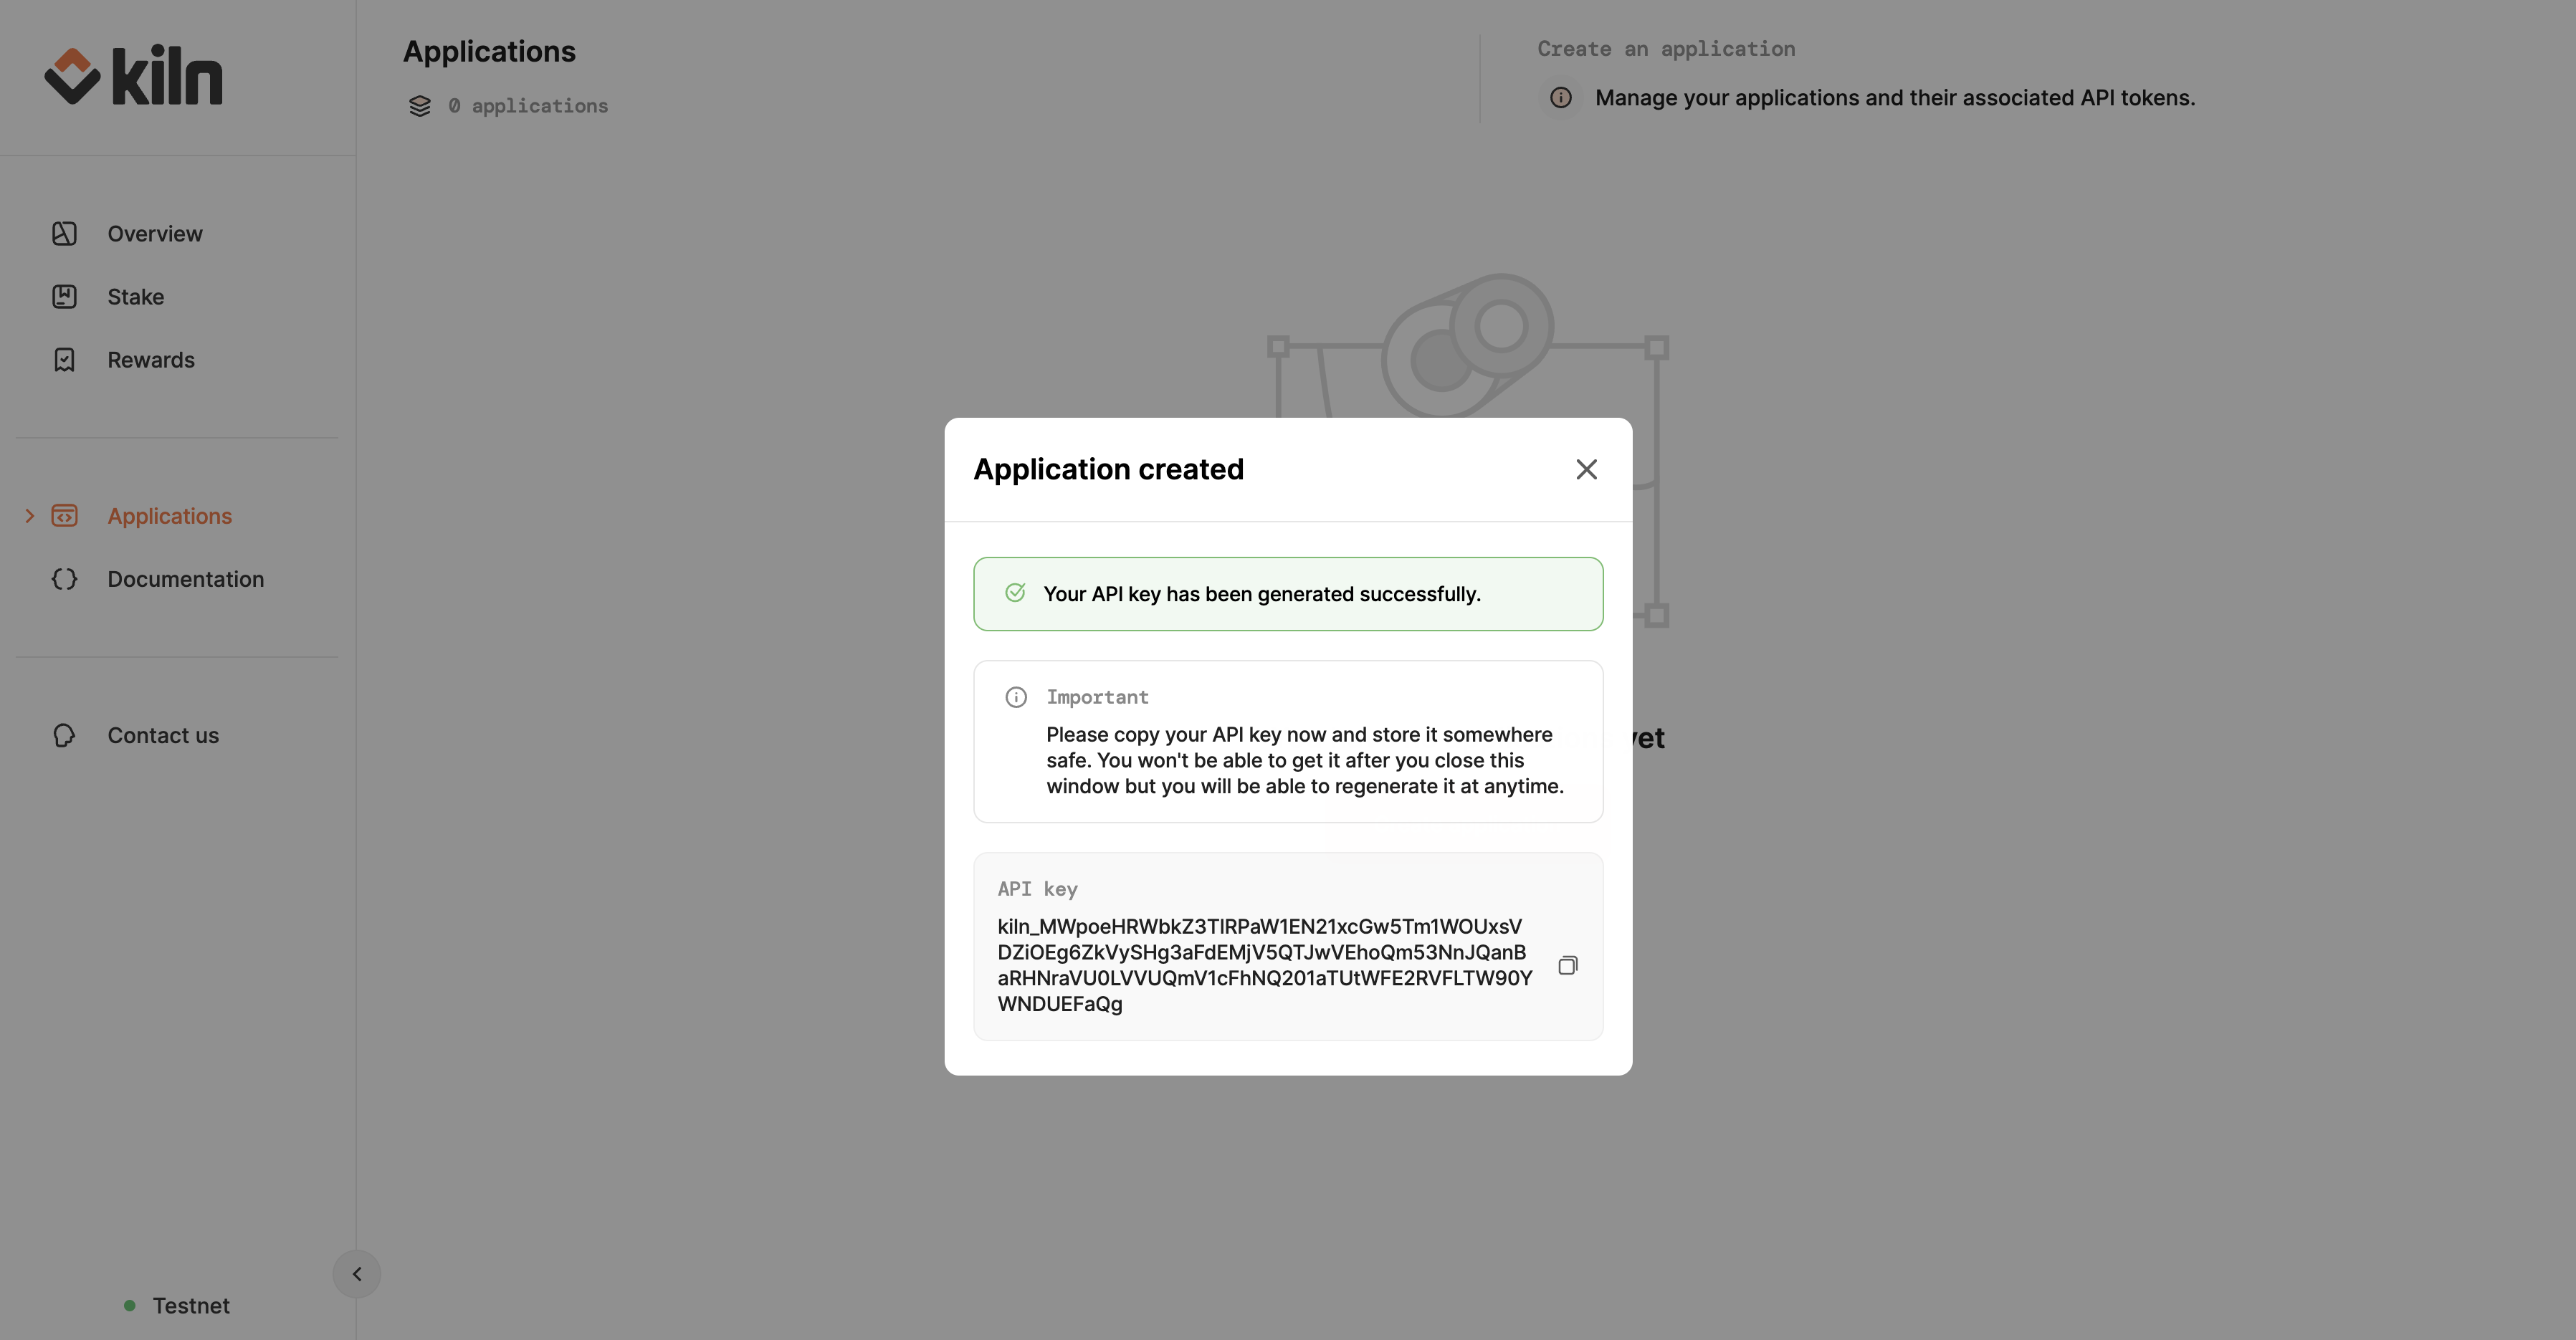
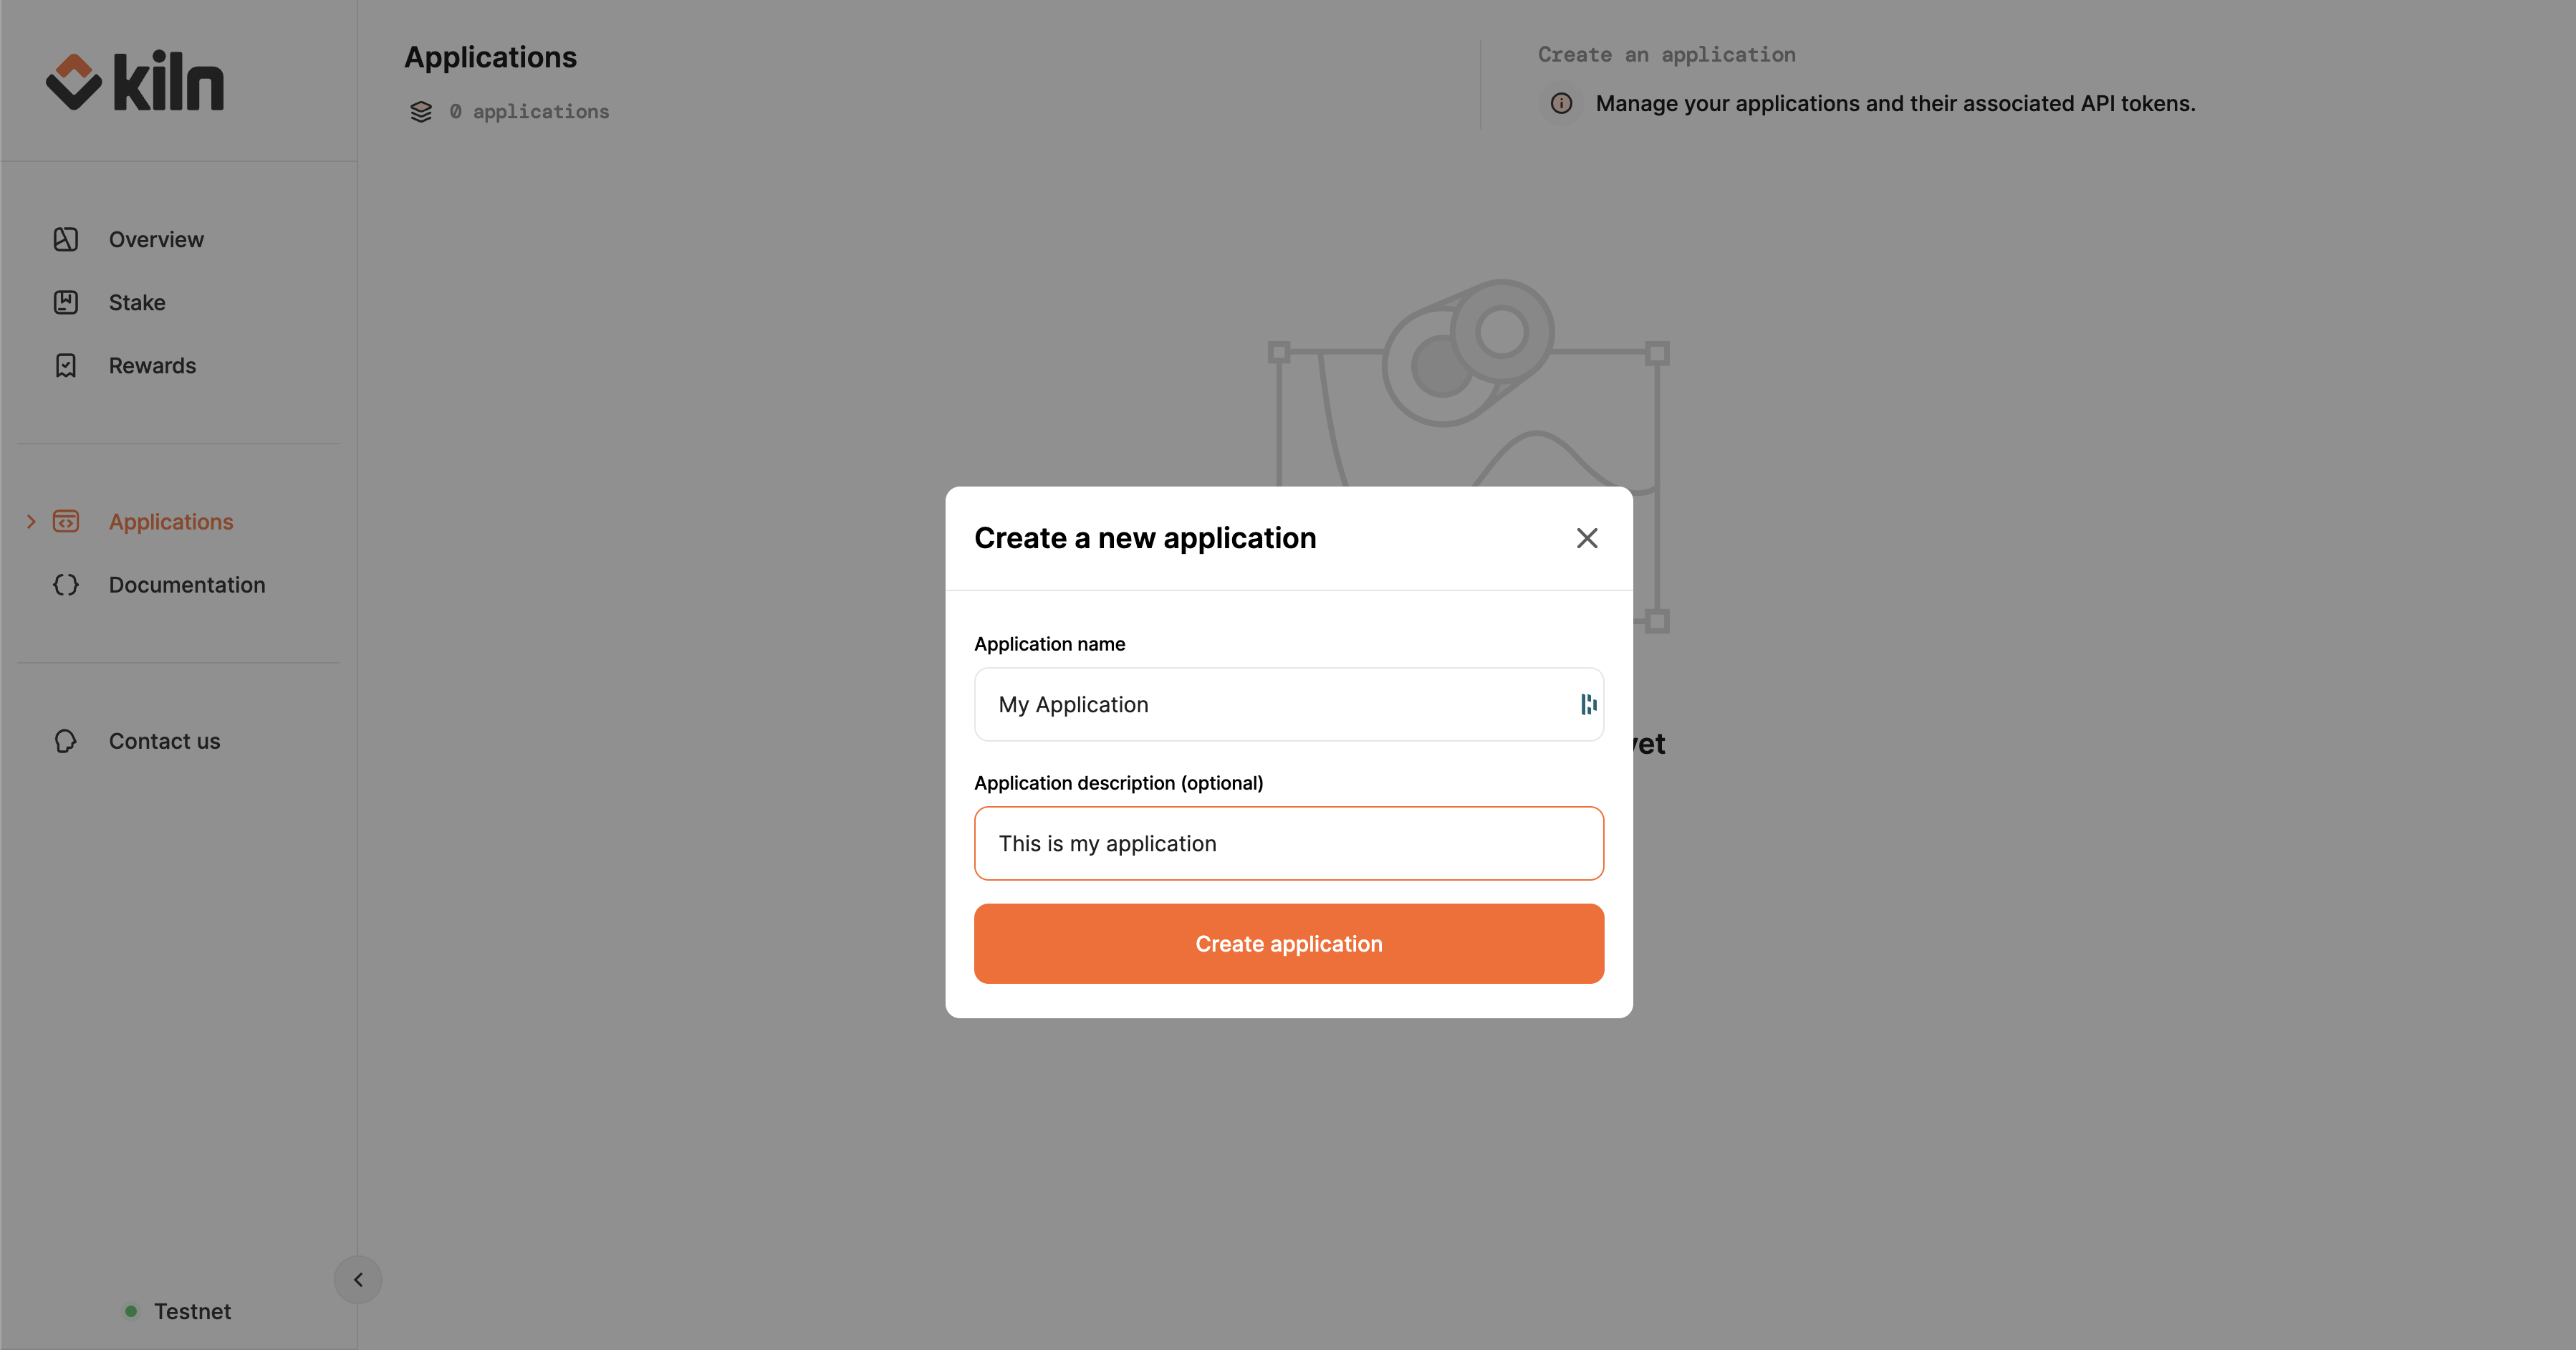
## 2. Retrieve your Kiln API key
Create an application on your Kiln Dashboard, and retrieve the given API key.
The API key is used to authenticate with the Kiln REST API which can manage Kiln accounts, craft transactions, and provide reporting data.
Create an application on your Kiln dashboard
Copy your Kiln API Key
## 3. Set up Fireblocks (required to sign transactions)
In the case that you would like to craft and sign transactions with your Fireblocks vault, you will need to setup the following in Fireblocks:
1. The raw signing feature is required on all protocols except on EVM compatible protocols (ETH, MATIC). Make sure that it is enabled in your workspace in case you wish to stake on other protocols. You can ask the Fireblocks support for information.
2. Create an API user using the Fireblocks tutorial [here](https://support.fireblocks.io/hc/en-us/articles/4407823826194-Adding-New-API-Users) with the Editor role (minimum privilege to initiate transactions on the workspace). This might require that you contact your Fireblocks support.
3. Generate the CSR certificate and make sure you store it somewhere safe.
4. Get the API key of the user by clicking on "Copy API key" of the user in the workspace members list
5. Get the vault account id you want to stake with by clicking on it in your Fireblocks workspace and check the URL. For example the vault id of is `'4'`.
{% hint style="info" %}
With the Kiln Connect SDK, you remain entirely in control of what is sent for signing to your Fireblocks workspace. You can verify the content of the transactions crafted with this SDK before signing it. Note that the entire signing workflow is done on the SDK end, not on Kiln APIs. Kiln will never have access to your Fireblocks API key or secret key.
{% endhint %}
## 4. Configure the SDK
You can now configure the SDK with you Kiln API token.
{% tabs %}
{% tab title="JavaScript" %}
```typescript
import { Kiln } from '@kilnfi/sdk';
import fs from "node:fs";
// Fireblocks secret key
const apiSecret = fs.readFileSync(__dirname + '/fireblocks_secret.key', 'utf8');
const k = new Kiln({
baseUrl: 'https://api.kiln.fi',
apiToken: 'KILN_API_KEY',
});
const tx = await k.client.POST(
'/v1/near/transaction/stake',
{
body: {
account_id: 'd3f1b917-72b1-4982-a4dd-93fce579a708',
wallet: 'c36b1a5da2e60d1fd5d3a6b46f7399eb26571457f3272f3c978bc9527ad2335f',
pool_id: 'kiln.pool.f863973.m0',
amount_yocto: '1000000000000000000000000',
}
}
);
const signResponse = await k.fireblocks.signNearTx(vault, tx.data.data, "NEAR_TEST");
const broadcastedTx = await k.client.POST("/v1/near/transaction/broadcast", {
body: {
signed_tx_serialized: signResponse.signed_tx.data.signed_tx_serialized,
}
});
```
{% endtab %}
{% endtabs %}
---
# Agent Instructions
This documentation is published with GitBook. GitBook is the documentation platform designed so that both humans and AI agents can read, navigate, and reason over technical content effectively. Learn more at gitbook.com.
## Querying This Documentation
If you need additional information that is not directly available in this page, you can query the documentation dynamically by asking a question.
Perform an HTTP GET request on the current page URL with the `ask` query parameter, and the optional `goal` query parameter:
```
GET https://docs.kiln.fi/v1/kiln-products/connect/sdk/getting-started.md?ask=&goal=
```
`ask` is the immediate question: it should be specific, self-contained, and written in natural language.
`goal` is optional and describes the broader end goal you are ultimately trying to accomplish on behalf of the user. GitBook uses it to tailor the answer towards what is most useful for that goal.
The response will contain a direct answer to the question and relevant excerpts and sources from the documentation.
Use this mechanism when the answer is not explicitly present in the current page, you need clarification or additional context, or you want to retrieve related documentation sections.